Exactly What Happens, Step by Step
No surprises. Here's our simple, honest process from your first call to the day you park on your beautiful new floor.
Call
Reach out to Tyler directly. No call centers, no runaround — just a friendly conversation about your project.
Free Estimate
Tyler visits your property, inspects the concrete and gives you an honest, written quote with no pressure.
Project Planning
We help you choose the right system and color, then schedule a day that works for you.
Surface Preparation
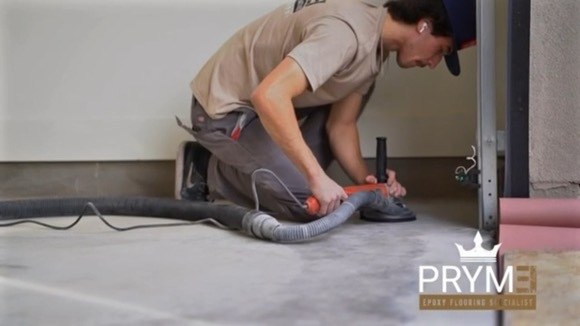
We diamond-grind the slab, repair cracks and clean every pore. This is the step that makes a floor last.
Professional Installation
We apply premium base coats, hand-broadcast your flake and seal it with a clear polyaspartic topcoat.
Final Walkthrough
We walk the finished floor with you, answer questions and make sure you're thrilled before we leave.
Our Six-Step Polyaspartic Process
PRYME EPOXY uses a six-step process for applying polyaspartic coatings to concrete floors — including garage floors, patios, sidewalks, driveways and pool decks.
Grind
We diamond-grind the concrete using heavy machinery, plus hand grinders for the edges, to ensure optimal adhesion. Dustless vacuums keep the whole process clean.
Repair
After vacuuming and blowing out the floor, we patch every imperfection with a flexible two-part epoxy patch.
Coat
We apply a self-priming, pre-pigmented polyaspartic base coat that is UV-stable.
Flake
We hand-flake the floor, broadcasting decorative chips across the fresh base coat.
Scrape
We scrape the floor, edges, joints and stem walls to remove any excess flakes for a clean, even finish.
Seal
We apply a slow-cure polyaspartic clear coat for protection, shine and optional non-slip texture.
Grind & Seal services: we perform a thorough double diamond grind to fully prepare the surface before sealing.
Ready to Get Started? Step One Is a Phone Call.
Talk to Tyler directly. No call centers, no pressure — just honest advice from the person who will be on your job.